What is a Schadograph?
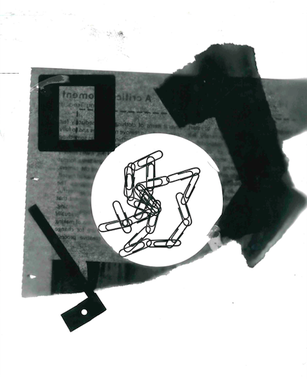
Schadographs are images created by exposing light sensitive photo paper to white light. To create them, I chose objects including paper clips, newspaper and shells and took them into the dark room. Then we put the photo paper underneath the enlarger and placed our objects in the centre. I thought about the way my objects were placed and how the image was composed as the shapes made were important for an effective end result. After exposing the paper to white light for around 8 seconds I then took it to the chemicals. First I put it in the developer for about a minute, or until the photo had fully developed and appeared on the paper. Next was the stop chemical, this stops the process of development and the image only needed to stay in there for about 30 seconds. Finally, the image had to go in the fix chemical for about 5 minutes. This fixes the everything that has happened in the process on to the paper and therefore the final image won't be affected when it is taken out of the darkroom. The developed image has to be washed to get rid of any excess chemicals and left to dry.
Christian Schad
Christian Schad was a German painter associated with Dada and the New Objectivity movement. He worked mainly as a painter however in 1918 Schad began experimenting with camerless photography. Schad began expermimenting with moving random objects he found around on light sensitive paper. He used objects such as receipts and torn tickets found on the subway. Schad was probably one of the first people to do this as an art form, around a couple of years before the likes of Man Ray. In 1920 Schads work was first published in a magazine called Dadaphone, and it was here they were called Schadographs.
Christian Schads work is now dispplayed in different places such as the Tate Modern in London and the Museum of Modern Art in New York.
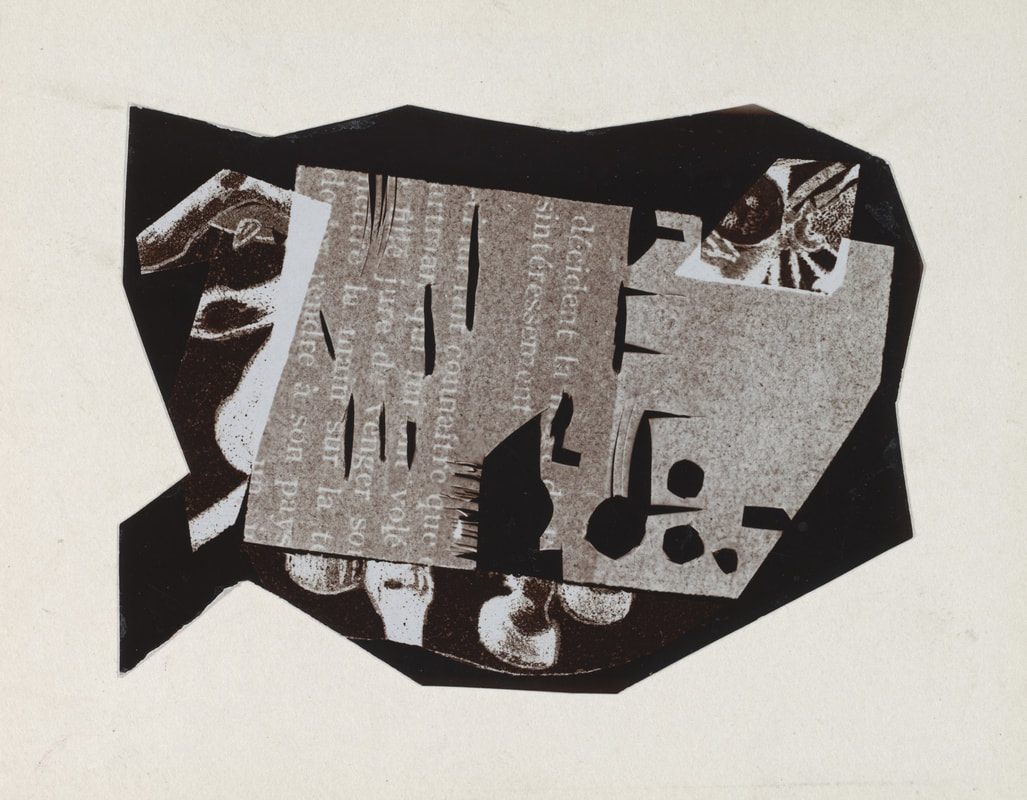
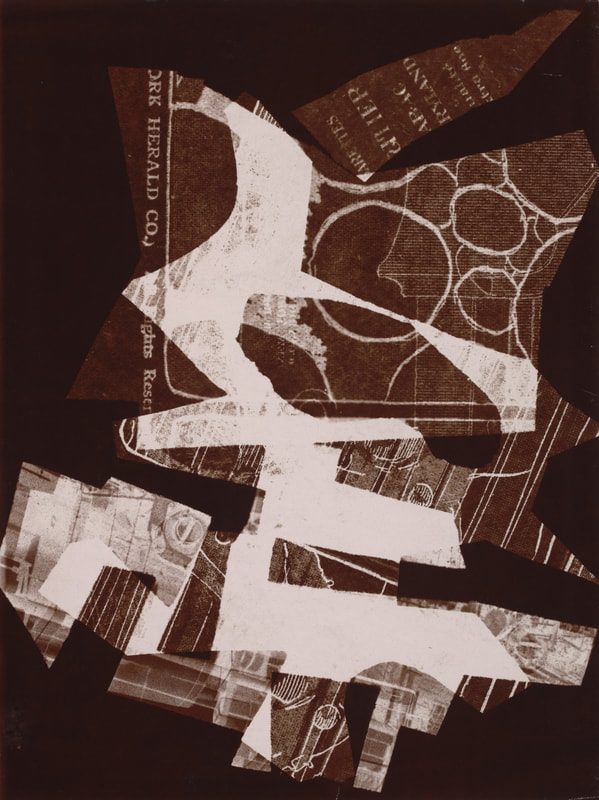
Here is some of his work:
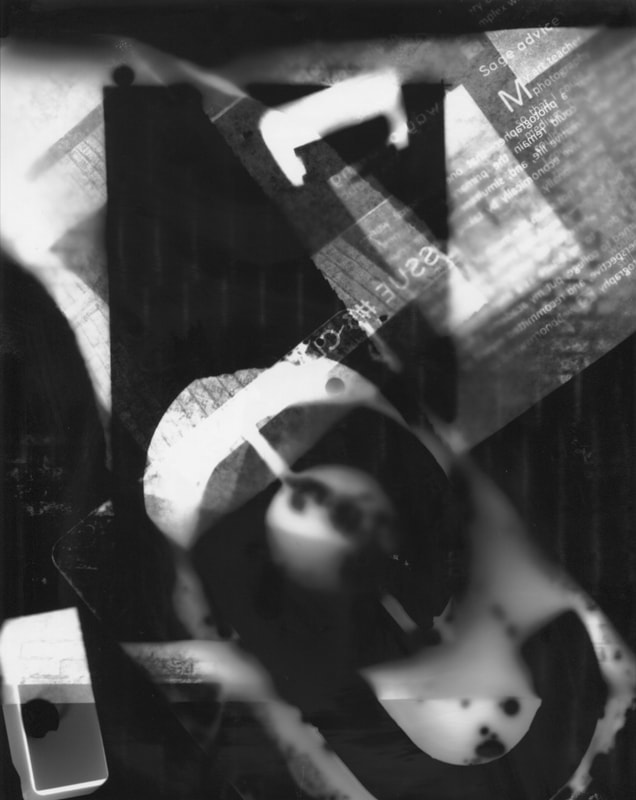
Christian Schads work is now dispplayed in different places such as the Tate Modern in London and the Museum of Modern Art in New York.
Here is some of his work:
My Schadographs
I think my images went well because they aren't over developed and I used different objects to make them look more interesting. They also have layers of objects allowing different forms to be made and nothing to look exactly as it normally would. If I was going to do this again, I might choose different, more abstract objects because you can clearly see what some of mine are, such as the paper clips. This will allow my images to look more unique and will allow the audience to think about what is involved. I may also experiment with different stages of development to see how the chemicals can really effect and change the image.

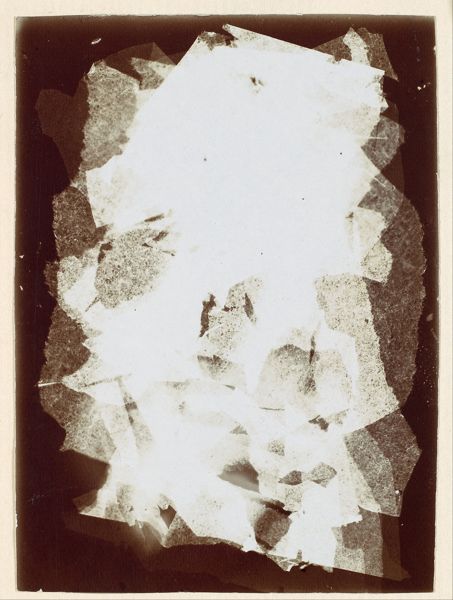
I then created an inverted image of my final developed photo. I did this by getting more photo paper and putting it under the enlarger again. I then laid my original image upside down over the top and exposed it to light for about 10 seconds. After going through the developing process again I had an image which was the opposite of my original. I think this went well because it is clearly the opposite of my original image and it not blurred or over developed. It clearly has the shapes and you can see the detail and lines within the image. Next time I may experiment with putting objects over the original image so that its inverted from the original but also has different shapes and objects over the top.